Elfshot Shortbow

Elfshot Shortbow

Building a shorter scale travel banjo - Shortbow

Blueprint

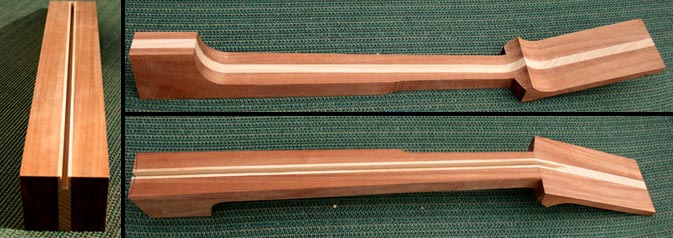
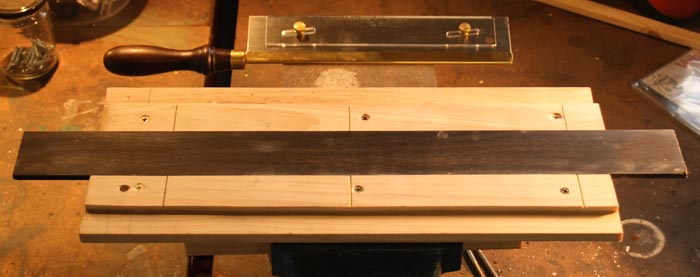
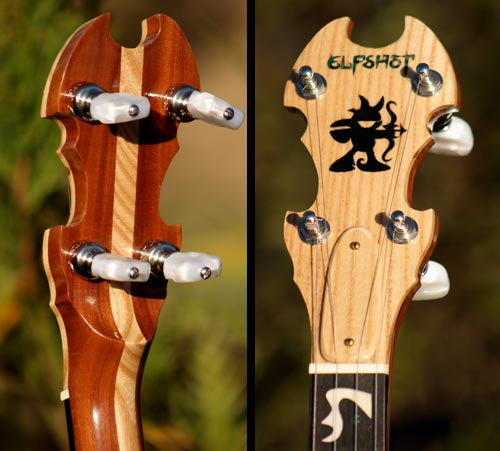
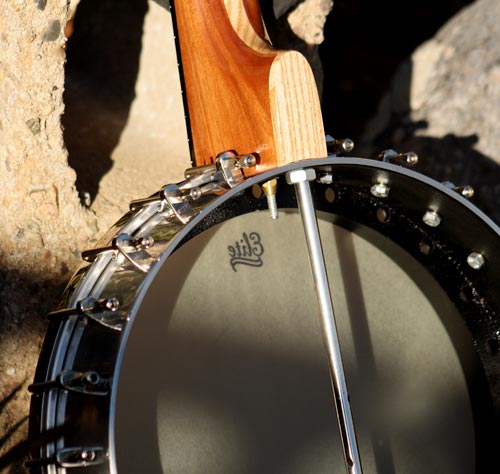
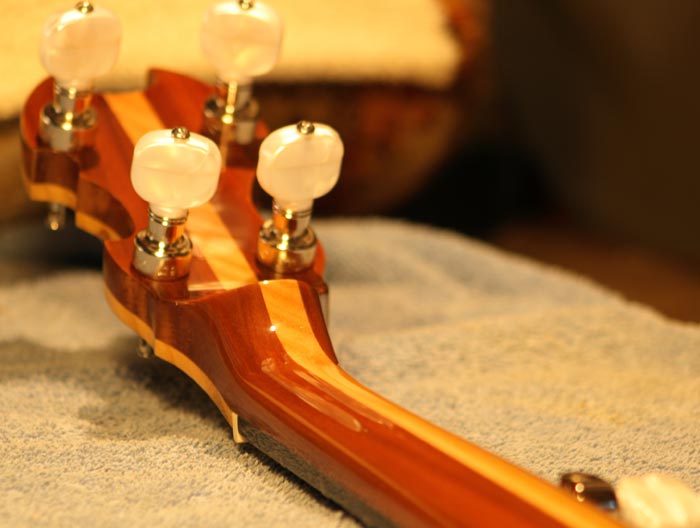
A main objective of this banjo was portability. I based the design on a tenor (19 frets) but added the 5th string. I printed the plan full scale on a topographical map plotter then traced and cut out clear plastic templates with an exacto knife. This made it easier to trace out the profiles on the block.

Gluing lumber

American White Ash surrounded by Nigerian Danta. I used industrial epoxy and left it a week.

Neck rough

This shows the block with truss rod slot cut out then 2 different angles of the neck after hogging out the profile.

For the truss rod slot, I made 3 passes with a bench saw to get the same slot thickness as the Stewmac hotrod brass block ends. This was done prior to cutting out the profile so I had a square edge for the saw guide rail.

Modifying Stewmac hotrod

Since the truss rod was too long for the short scale length neck, I had to cut the solid nut off one end (couldn't be unthreaded due to the nature of the Stewmac hotrod, which works by having opposing threads at each end). I shortened the rods and plastic sleeve, then re-tapped some thread on the shortened end. Then I arc welded the nut back on carefully with a 1.6mm electrode.

Neck jig

This is the jig I made to hold the neck for shaping with rasps and files. Small dowel lugs poked up into the truss rod slot to hold it still. This gave me plenty of room to get good long sweeping file strokes on either side. I actually cheated by beginning with an angle grinder. I would recommend great caution if you try this.

Fret cutting jig

I made 3 miter slots with pieces of pine the same height as the blank ebony fingerboard. This allowed me to use the jig again later for sanding the inlay resin. It was a nice tight fit so the fingerboard wouldn't slide around while I cut the slots with the fret cutting saw. The saw's plastic depth guide made the job a lot easier.

Collecting ebony dust

Because you never know when you'll need some ;)

Inlay slots

I had the inlay slots and inlay pieces cut by a laser cutter. The inlay isn't real shell, it's composite which allowed me to keep on budget. The black elf is actually plastic as I wanted a design that was different and would contrast against the white ash. I am a designer by trade, so I was able to design the inlays myself, and convert them into a vector file format for the lazer cutting machine.

Inlay resin

This shows the resin before being sanded flat. I used techniglue which is an epoxy resin. Epoxy resins have very good moisture, shrinkage and fatigue resistance. You cannot directly sand the composite (like you can with shell) as it loses it's reflective surface. This makes it a little fiddly because the inlays need to sit embedded in the resin about 1mm below the surface of the fingerboard.

Gluing peg head veneer

Once the truss rod was inserted I drilled 2 small nail holes on either corner of the peg head (in the cutaway area) so the veneer wouldn't slide around during gluing. One of the nails can be seen in this photo.

Peg head jig

This photo shows 3 different profiles of the jig I made for cutting out the peg head shape. The jig allows a cutting angle that is perpendicular to the plane of the fingerboard, not to the plane of the peg head itself - a banjo tradition. I used the thinnest band saw blade I could find and just took my time, sometimes using the edge of the blade to file away timber on the tight corners. I finished shaping mostly with round files.

Gluing the fingerboard

I used lengths of pine with "carpet cauls" for padding. I was able to glue the fingerboard and heel cap in one go. Top left of the photo shows the heel cap I cut out of a scrap piece of the Ash. I did a similar thing for the truss rod cover since I didn't want a black cover that would draw one's eye away from the black elf design.

Heel curve jig

This was my attempt at making a jig for achieving the 91.5° curved angle where the neck joins the pot. In the end, there was a bit of manual sanding on my linishing belt - making several test fits. This was the trickiest part of the job since maximum contact between neck and pot is required to carry vibrations through the instrument.

Spraying the pot

I sourced a second hand cast alloy pot from a fella in NY. I polished the outside with metal polish and sprayed the inside black using some auto paints I had in the shed. I left the edge bare that faces the players belly to avoid paint wearing over time.

Finished banjo after fret, lacquer and polish