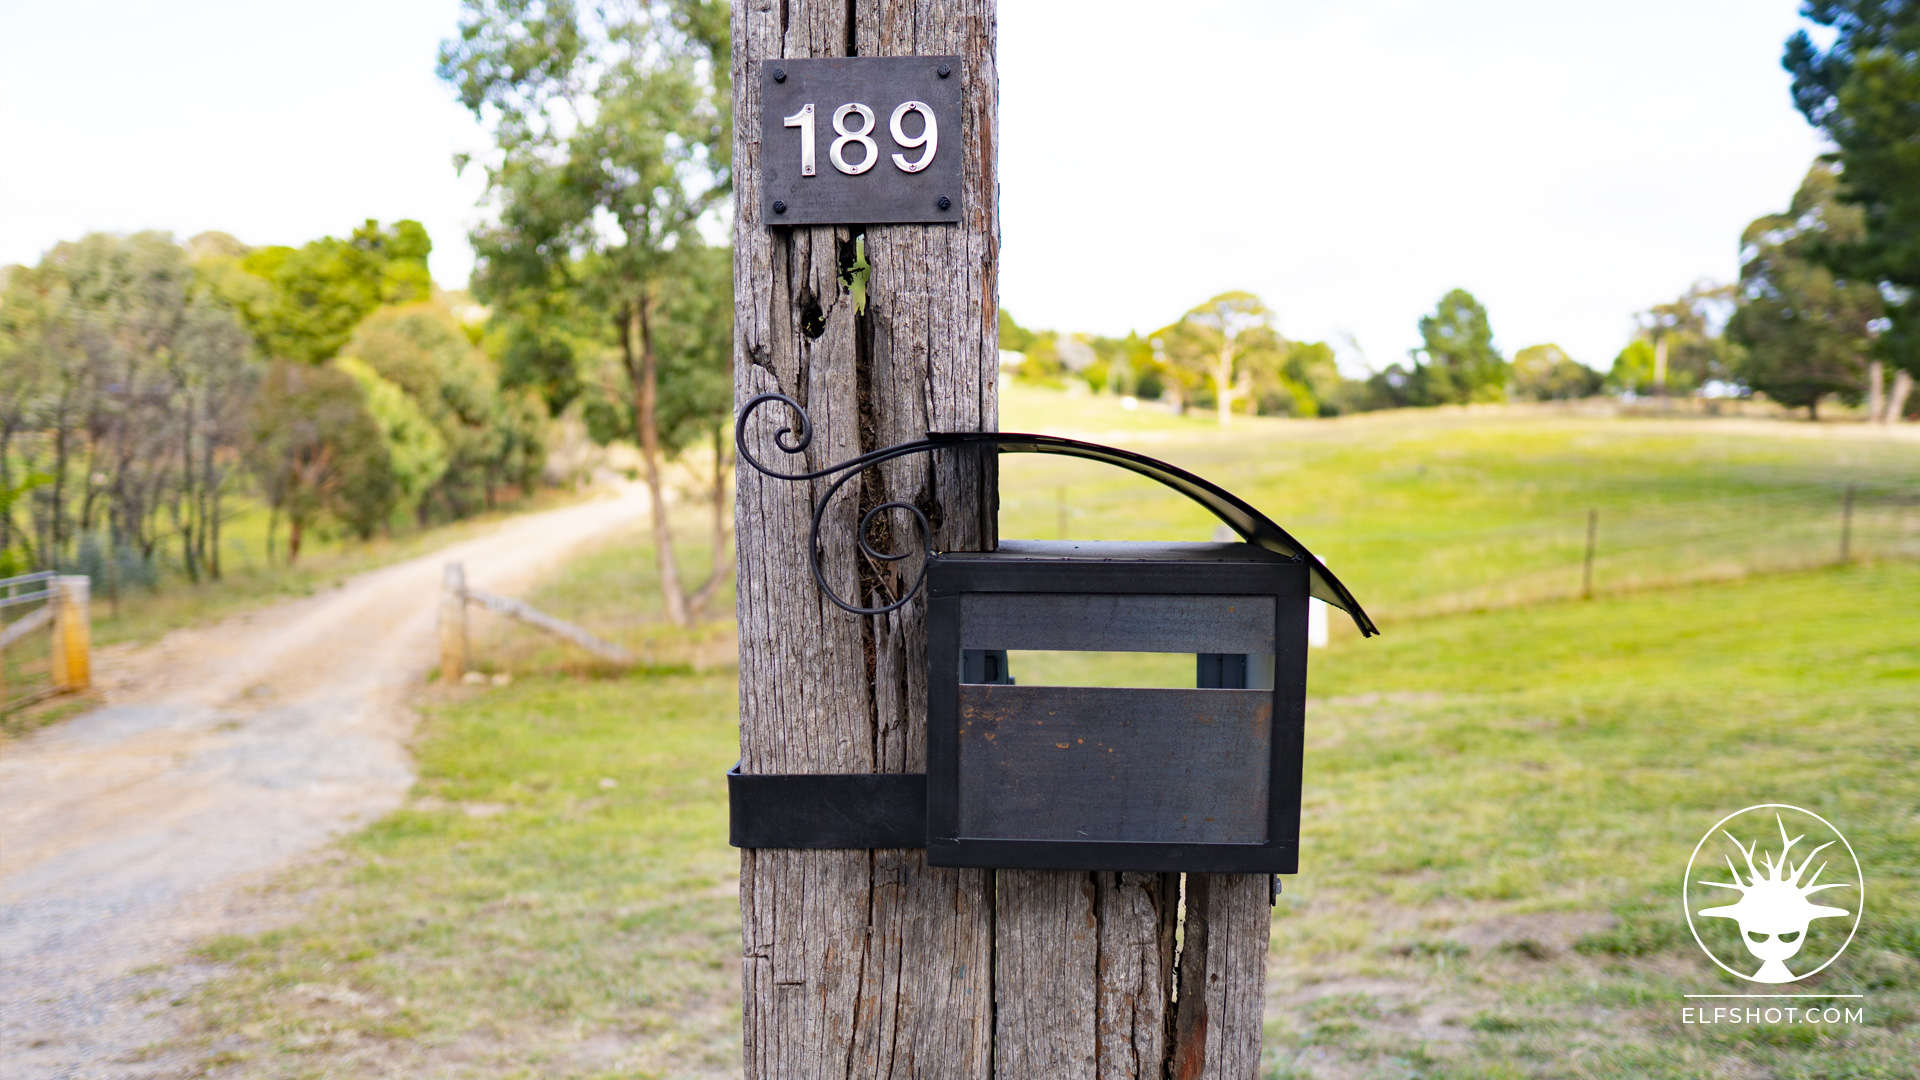
Letterbox with hardwood railway sleepers and steel
Extract from video transcript
In this project I build a hand-crafted letterbox using old hardwood railway sleepers and a box that I fabricate from angle iron and cold rolled 0.75mm sheet metal.
Sometimes I start with a 3D sketch so I can move shapes around and try different ideas. In this case, it was useful for figuring out how I'd attach everything together since it all needs to be solid in the ground. It's just a starting point though and I'll often change my mind as things go on.
One of the things I really like to do is take old materials and turn them into new things. Down the hill here a bit there's an old railway sleeper that's half-buried in the mud. I reckon that could make a good upright for the side of the letterbox.
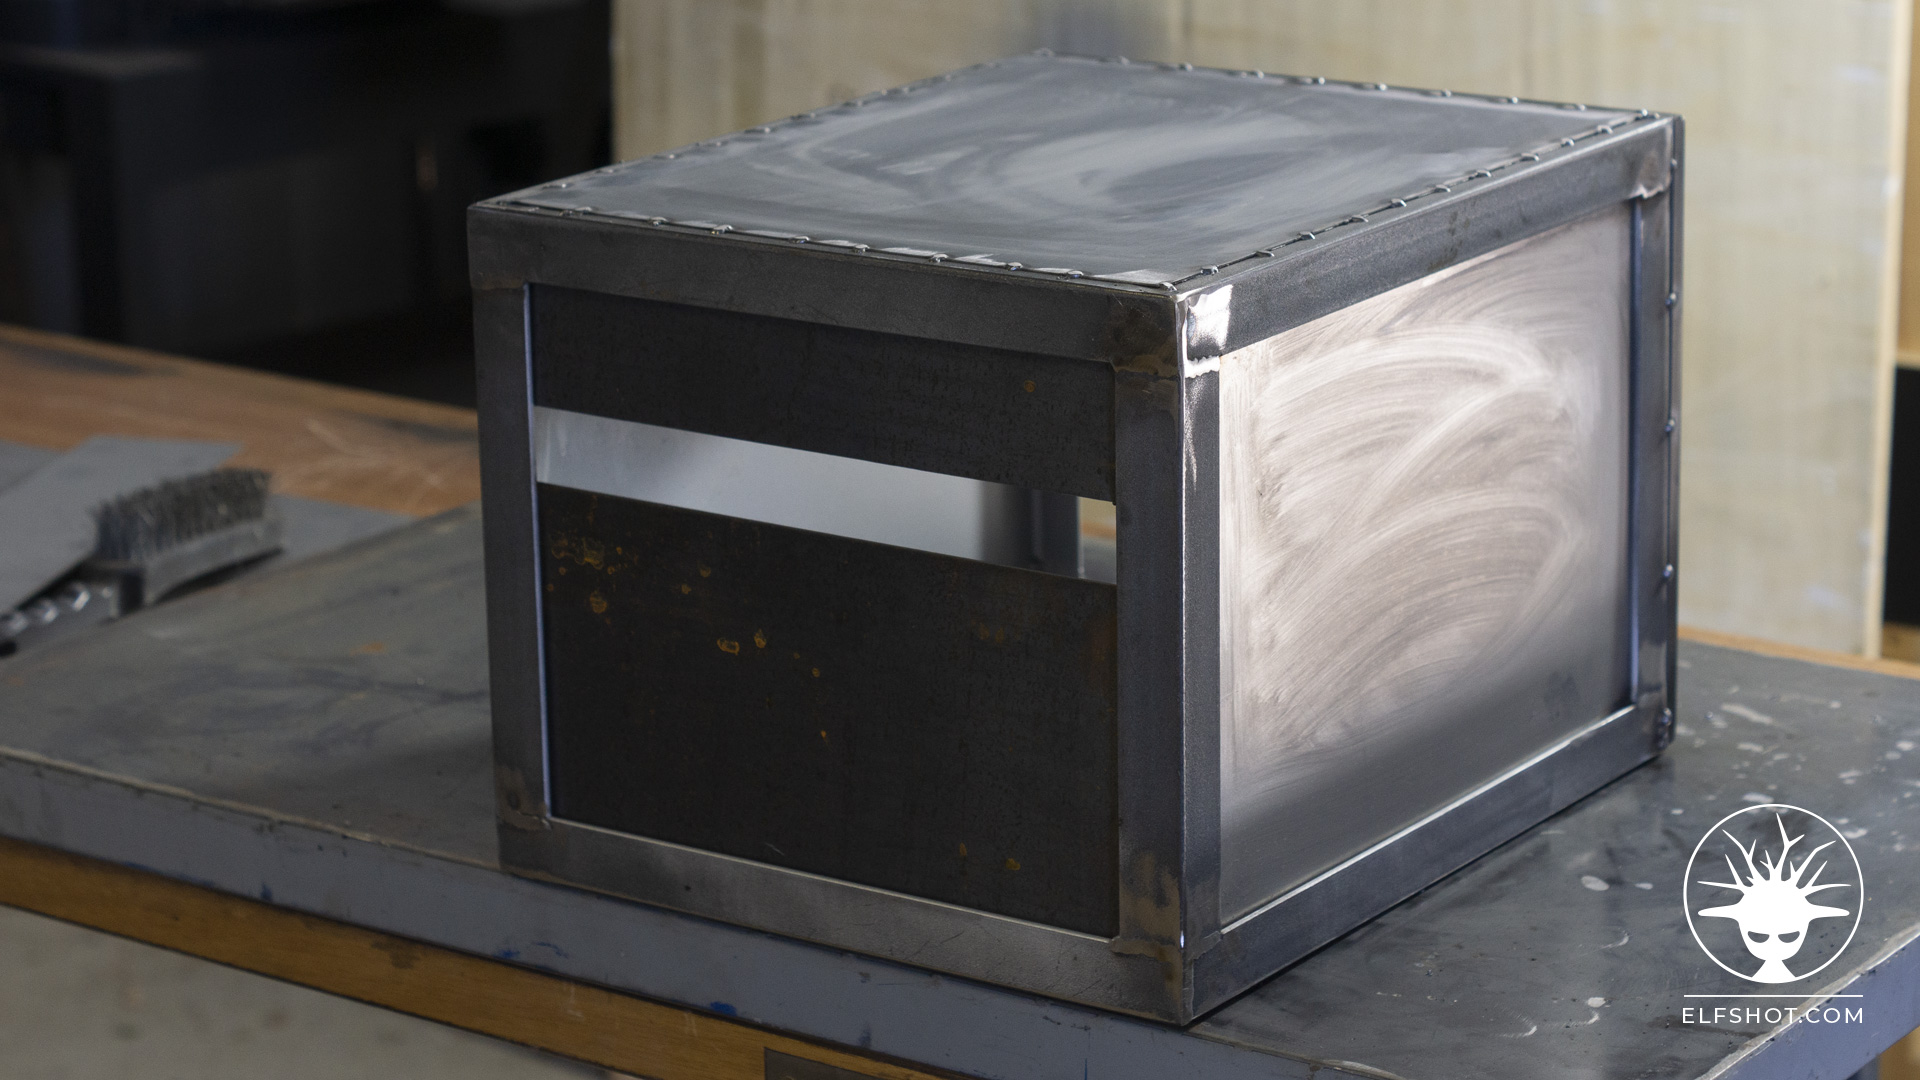
Back in the workshop I found a length of 25 by 25 by 2 angle iron. I'll use this for the frame and I want to run it around the outside of the letterbox, for the look I'm going for. I'm chopping this up on my bandsaw but this would be easy enough with a cheap angle grinder, specially as I'm only use square cuts.
I studied the Australian Post recommendations. The recommendations include everything from aperture size to the ideal height off the ground. I've basically made mine a little larger than standard since we live out of town and do get the odd box shoved in our letterbox.
I found a couple of old hinges in a parts box. I've just cut the tops off them, welded them inside this outer frame, then I'm going to use this rod to make an inner frame that will form part of the door. I'm shaping some 5mm flat bar to use as bands which will wrap around the railway sleepers to hold them together. Hand-forged elements - even really simple shapes - transform a fabricated item into something that feels more unique and customised. Then I shape a custom latch for the rear door of the letterbox which is really just a bit of experimentation and figuring it out as I go.
For the footing, I did 2 concrete pours. The first one around a timber frame to get the levels right. After cutting this frame out I did a second pour to give everything more weight. The second pour isn't shown in the video.
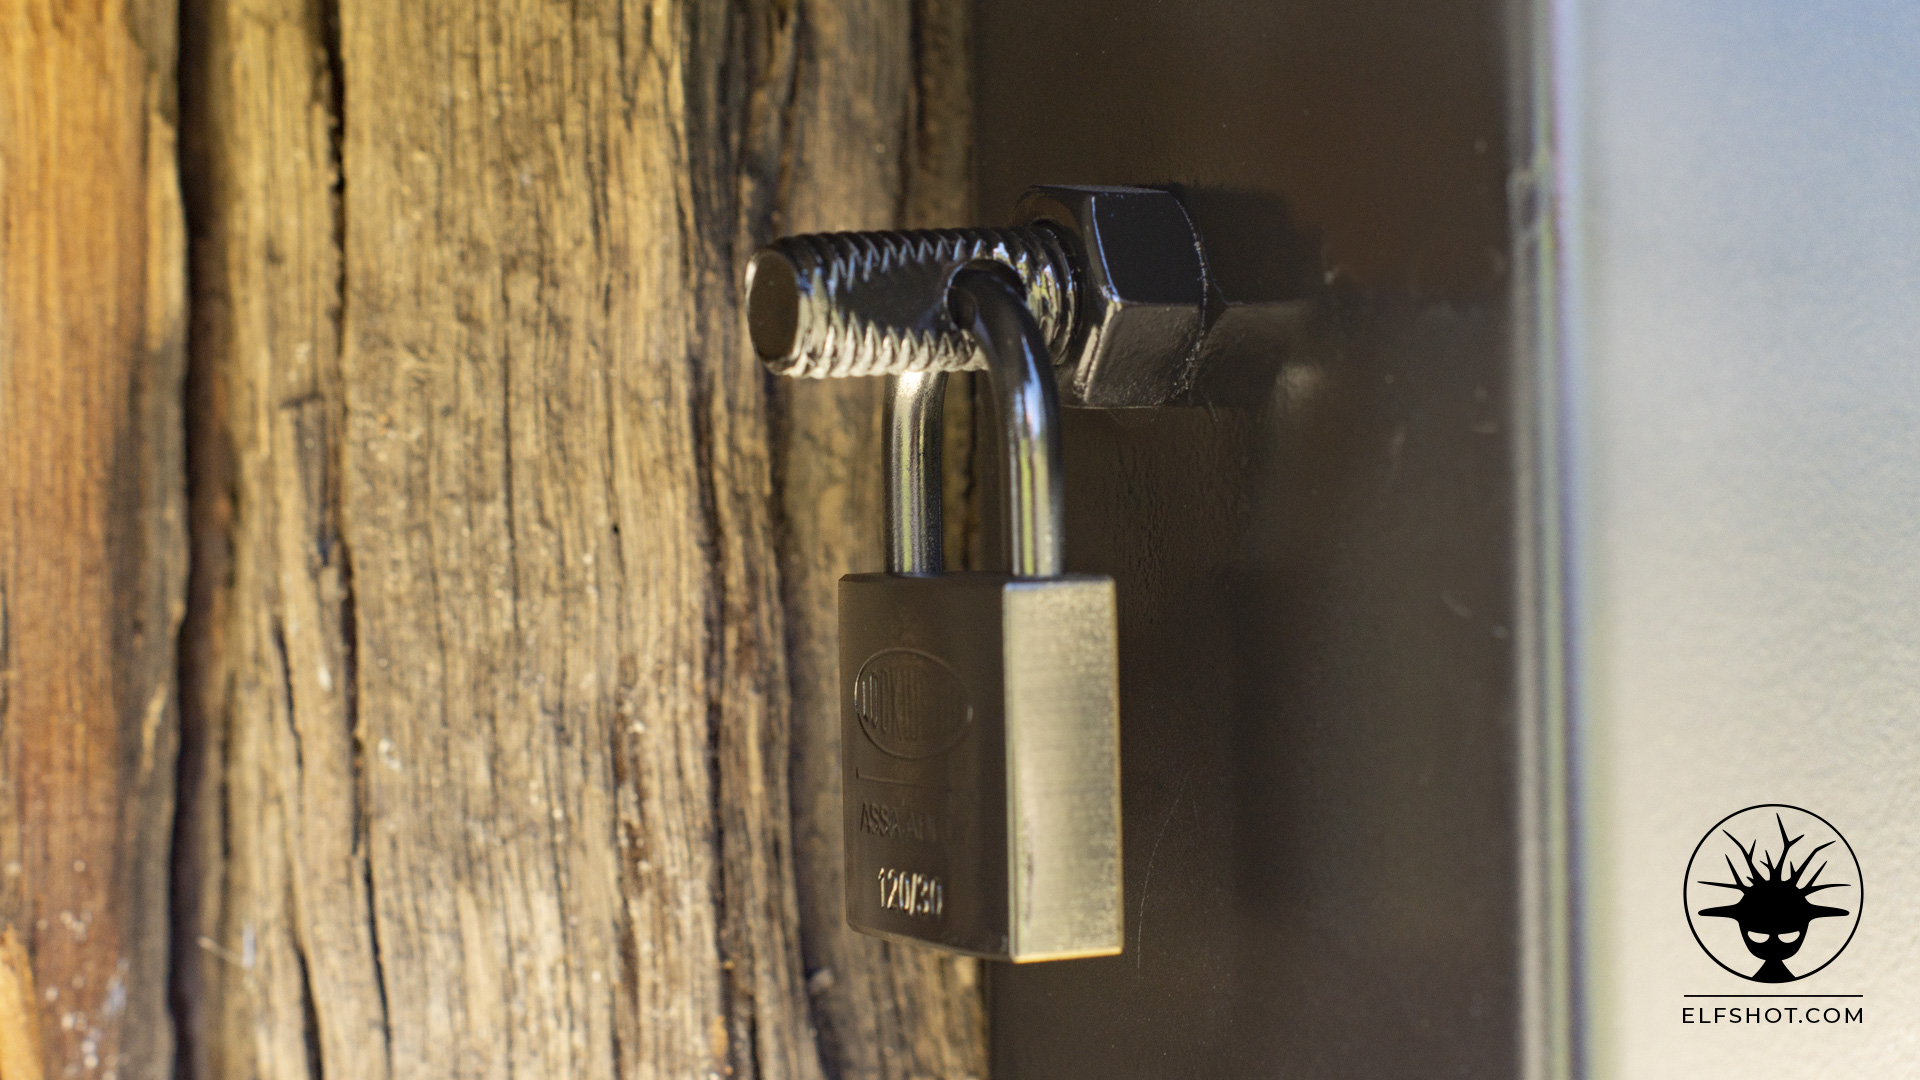
I decided to weld on a piece of flat bar that joins both of the bands. This is nice and strong and I can bolt the letterbox structure to the post. It actually turned out better than welding and I can remove the letterbox if I ever need to.
Watch the YouTube video for the full build and please support me by subscribing.